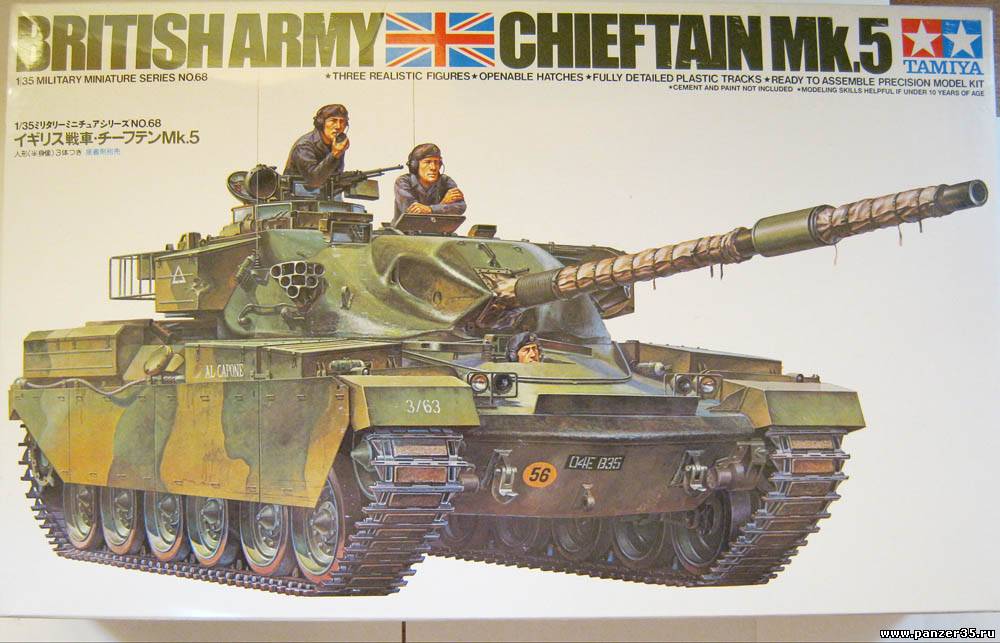
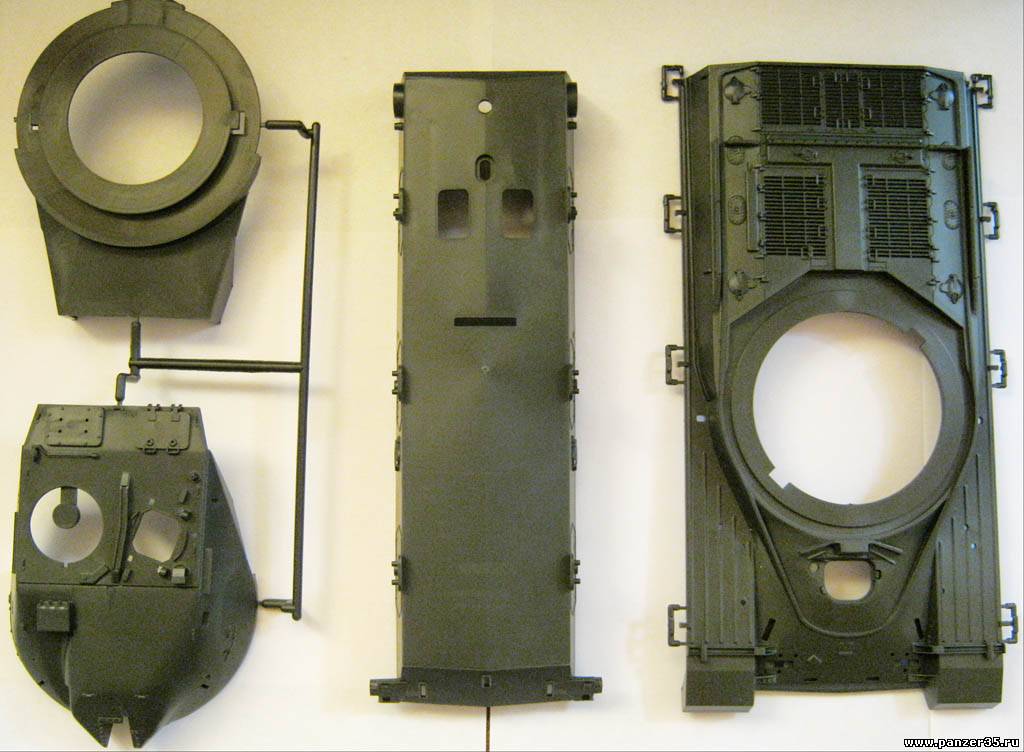
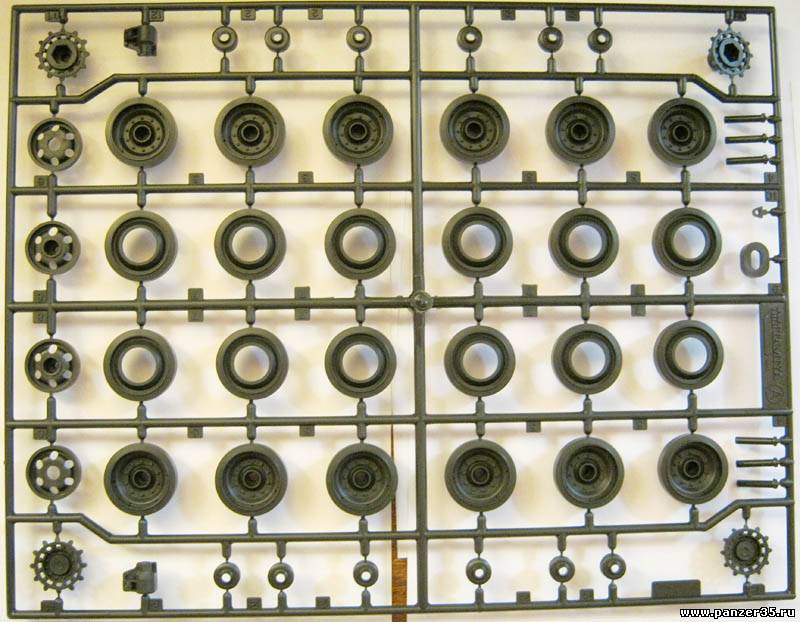
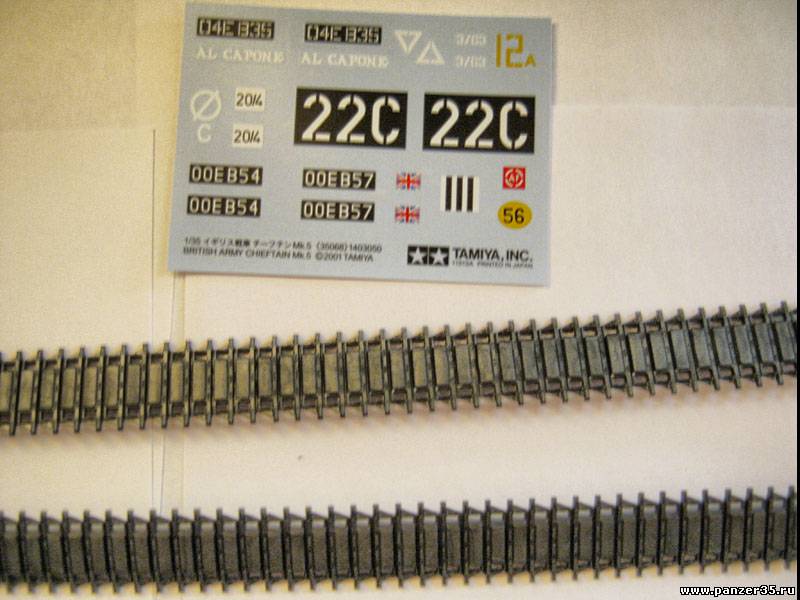
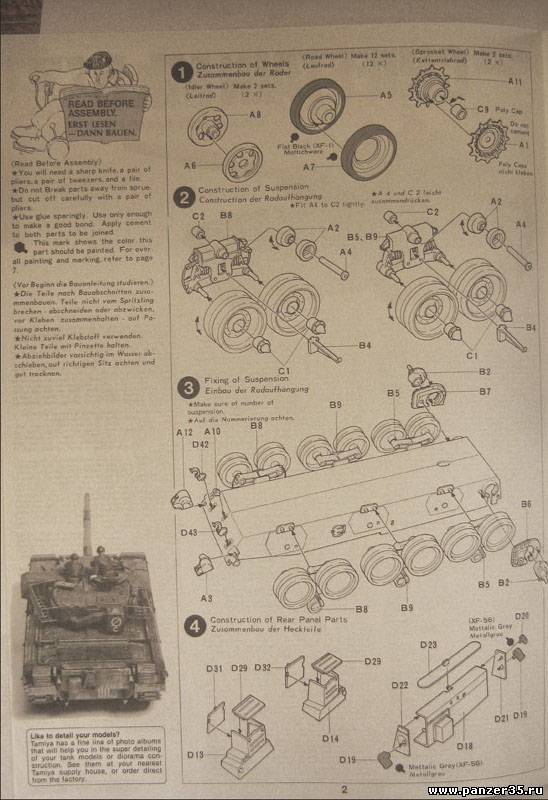
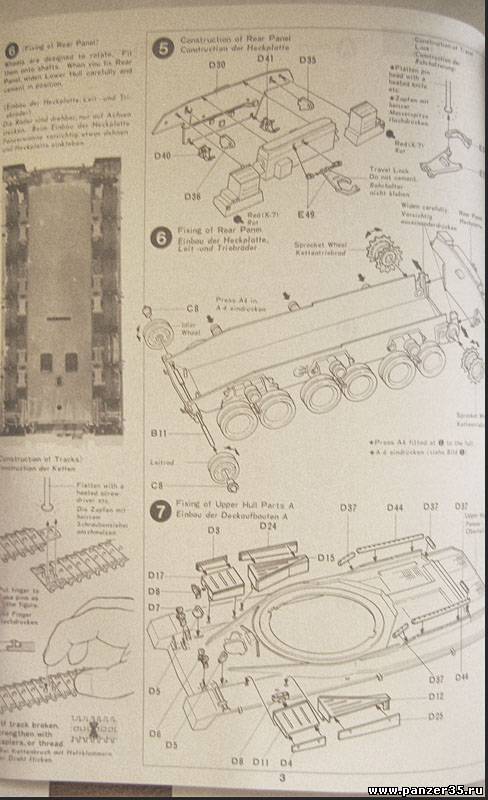
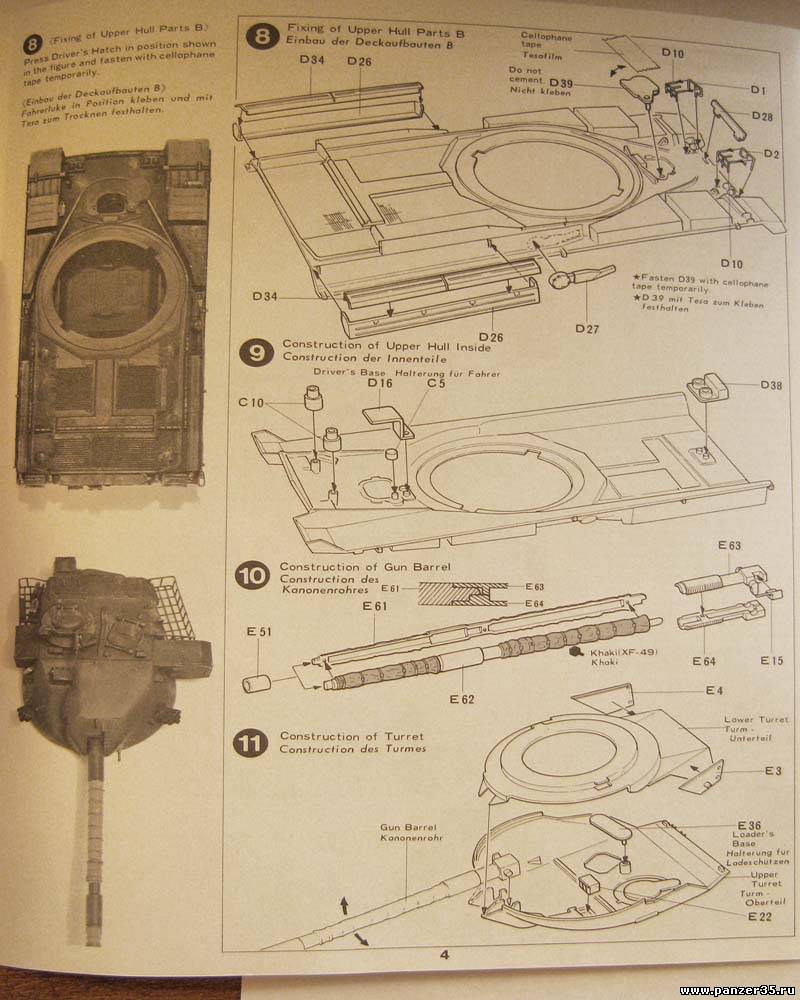
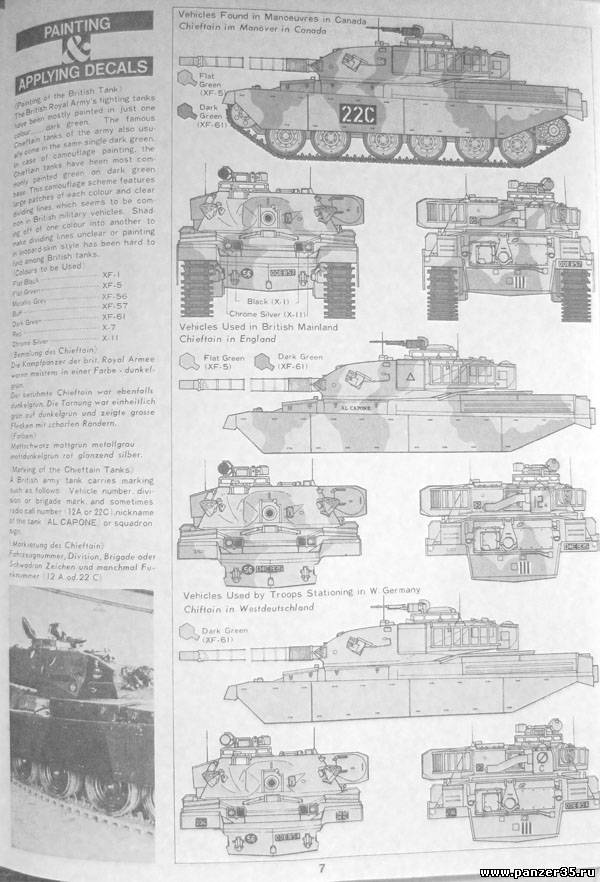
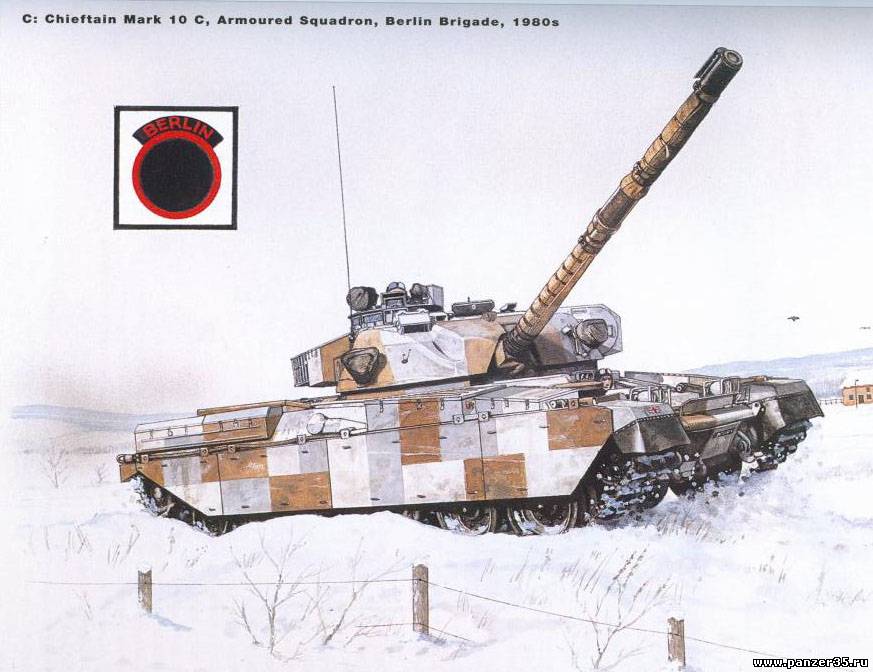
Представляю обзор тамиевской модели британского танка Чифтен. Крайне непопулярная машина в русскоязычном сегменте интернета, а зря. Данная машина была одной из немногих западных, у кого были шансы выжить в поединках с советскими танками. На отливках стоит дата 1978 год, и это собственно видно по деталировке. Хотя стоит отметить, что качество литься такое, что Звезде стоит поучится. Копийность по мнению западных моделистов на невысоком уровне, к тому же Тамия дает Мк.3, а не Мк.5 как написано на коробке. Гусеницы - стандартный тамиевский винил, довольно мягкий. В комплекте идет три обрубка танкистов с жуткими лицами. Схема окраски - на три варианта, причем самый интересный, "городской камуфляж" не дается. (Прилагаю рисунок с ним.) Инструкция стандартная для Тамии, на титульном листе дается интересное эссе на японском и английском о эволюции британских послевоенных танков. Вот собственно и все...остальное видно на фото.
И в заключение - городской камуфляж рейнской группы армий. Может быть решусь попробовать воспроизвести такое.
Добавлено (18.07.2011, 18:59) --------------------------------------------- А вот дефектовка набора данная на армораме. Пока на английском, но когда буду собирать думаю перевести.
GENERAL MODIFICATIONS
Be sure to fill the motorization holes in the lower hull. It is also a good idea to replace all molded on grab handles with wire or something.
HULL MODIFICATIONS
Chieftain Mk.3
Replace the glacis splashguard with one with a bend near the top and add the stays which attach it to the headlight guards Replace the rear portion of the headlight guards with ones which project further back Replace the wading rail with 1mm x 1mm U section brass Add the hooks for the wading trunking (one on glacis, one on exhaust box, one on LHS and two on RHS) Add the hull fire extinguisher handles and brackets between the first and second trackguard stowage bins each side Add the retaining clip for the driver's hatch when open Replace the splashguards either side of the driver's periscope Add the trunking for the dozer blade inboard of the right front stowage bins Add wing mirrors to the front trackguards Add the retaining catch for the open driver's hatch on the glacis and its protective plate Add hasps and padlocks to all stowage bins Rebuild the intake on top of the exhaust box on the hull rear Rebuild the armoured box for the telephone on exhaust box on the hull rear (it is easier to just rebuild the exhaust box as well, or there will be a hole where the telephone comes off) as it is spaced off the exhaust box on four threaded posts Add hooks for two spare tracklinks on the rear face of the exhaust box Rebuild the inner ends of the rear mudguards, which are the wrong shape Add the pressed 'X' reinforcement to the sides of the hull rear stowage bins Rebuild the light clusters on top of the rear mudguards, as they should not be identical both sides Add the rests for the opened outer panels of the transmission covers inboard of the long stowage bins on the hull sides Add the threaded socket to the top of the 'T' shaped panel over the engine Replace the triangular panel at the right front of the engine deck (over the engine breathers) with a louvred one Add the brackets which are used to bolt the trackguard bins to the trackguards. Those between the square and triangular bin are attached to the fire extinguisher pull handle brackets Remove all the lifting handles on the louvred engine and transmission covers, add mesh covers to them and replace the lifting handles from wire or rod Add two small attachment points (like towing/lifting eyes) to the extreme front of the glacis, for the dozer blade Add a bazooka plate support arm between the front roadwheel and idler Replace the bazooka plate brackets on the hull sides If the bazooka plates are to be fitted, replace them with brass or plastic sheet If the bazooka plates are to be omitted, rebuild the outer ends of the support arms to the correct pattern
Chieftain Mk.5
Perform all of the modifications noted for the Mk.3 hull (above) plus the following:
Replace the entire transmission covers with the new version, which has two central lift out panels horizontally and shorter outer hinged panels, and build up the hull rear plate and rear of the 'T' piece above the engine Replace the exhaust pipes with a more curved version and flanged outer ends Remove all but the lower horizontal of the wading rail from behind the transverse depression stop rail on the engine decks Replace the gun crutch with a version similar to that used on Challenger, but with longer pivoting arms
Chieftain Mk.6 or 7
As for Mk.5.
TURRET MODIFICATIONS
Chieftain Mk.3
Rebuild the base and cover for the loader's periscope. The latter can come from a Challenger. Add the polygonal overpressure relief valve cover behind the commander's cupola Add the two blocks with threaded holes below the gun mantlet for removing the 120mm barrel Extend the thermal sleeve as far forward as the rear of the fume extractor Rebuild the turret stowage baskets, or at least the way they are attached to the turret as they are attached by brackets not welded direct to the turret side Add the armoured pipe and housing below the LHS stowage basket which supplies power to the searchlight Replace the cover for the commander's sight Add a cable from the block on the left of the cupola to the commander's GPMG Add a cable from the rhomboidal block on the right of the cupola to the commander's spotlight Add two cable guides to the top outer ends of the turret rear plate Add the stop for the searchlight door to the door front Add the four lifting rings (there are at least two versions) to the top of the searchlight housing Cut the top face of the searchlight housing from the inner rear corner, perpendicularly to the front and rear, to a point directly forward of it and immediately behind the front plate. There should be a small overlap of the front plate compared to the inner edge of the top plate. Fill the inside face of the searchlight. Add the three blocks on the turret (two forward, one behind) that support the searchlight, and the brackets on the light and their associated bolts. Add a hasp to the central part of the join in the loader's hatch Replace the brackets for the smoke dischargers with ones made from flat section strip Detail the right side and rear faces of the gunner's sight Add a pad to the inside of the forward loader's hatch and a strip inside the join between front and rear hatches Rebuild one side of each of the smoke discharger clusters to represent the correct cast shape Drill (carefully) down the fixing wheel on the top of the commander's spotlight bracket to give the impression that it is a ring Add the brackets to the commander's stowage bin to space it off the turret and fill the inner face to avoid a hollow appearance.
Chieftain Mk.5
Perform the modifications for the Mk.3 turret but skip items 2 and 4. Also perform the following additional modifications:
Add the rectangular (instead of the polygonal design) overpressure relief valve cover behind the commander's cupola Replace the rectangular gun control equipment cover behind the commander's cupola with a trapezoidal design, with handles on the edges Replace the 120mm barrel with an L11A3 or A5 version, similar to that from a Challenger. If you use a Challenger gun, extend the cover to the mirror housing on the muzzle so that the base is in line with the tip of the muzzle. The slope of the rear of the mirror housing is also too shallow and needs re-angling or preferably cutting back to represent the mirror housing and having a cover added to represent the rubber sheet version Add the light projector next to the gunner's sight and the cable and its cover which join the two Replace the left side turret stowage basket with a larger design which extends out to the edge of the searchlight. Some had a plate joining the basket to the light. At some point, the basket was apparently modified with a downwards extension in the front outside corner for a container of NBC decontaminant (like a large fire extinguisher, as on Challenger) and stowage on the underside of the basket for the associated tool roll. Add mesh inserts for both stowage baskets. Remove all detail from the cupola top outside the raised concentric ring and add a ring of thin plastic sheet to extend its diameter. The front portion is bent down to maintain the field of view of the commander's sight. Replace the NBC pack with the No.6 Mk.2 design Replace the antenna bases with the Clansman type (as found in Challenger but there are actually six and not four webs below the rubber upper part Add the various small radio-related details to the left of the cover for the turret battery access hatch Replace the commander's periscope ring with the angled type as found on Challenger Some vehicles have a large rectangular bin for APDS projectiles in the left turret stowage basket, bolted to a retaining strip under the basket floor Add the armoured box for the aerial tuning unit antenna ahead of the commander's stowage bin, with a portable fire extinguisher below.
Chieftain Mk.6 or Mk.7
Perform all of the modifications noted for the Mk.5 turret but skip points 1 and 12. It should be noted that this would also include all of the Mk.3 turret modifications but skipping point 4. In addition,a perform the following modifications:
Replace the rectangular gun control equipment cover behind the commander's cupola with a trapezoidal design, with handles on the edges Replace the ranging MG to the left of the mantlet with a welded plate to cover the hole
Аккурат армор все же через чур круто... Травление точно буду покупать, иначе деталировка 0. А вот насчет городского камо это точно? Я сам пока мало что прочел.
А вот насчет городского камо это точно? Я сам пока мало что прочел.
К сожалению да,я сам сейчас строю мк.3,хотел делать в городском камо ,но городской камо начали наносить с мк.5 и далее,по крайней мере на найденных мной фото я не видел мк.3 в городском камуфляже
К сожалению да,я сам сейчас строю мк.3,хотел делать в городском камо ,но городской камо начали наносить с мк.5 и далее,по крайней мере на найденных мной фото я не видел мк.3 в городском камуфляже
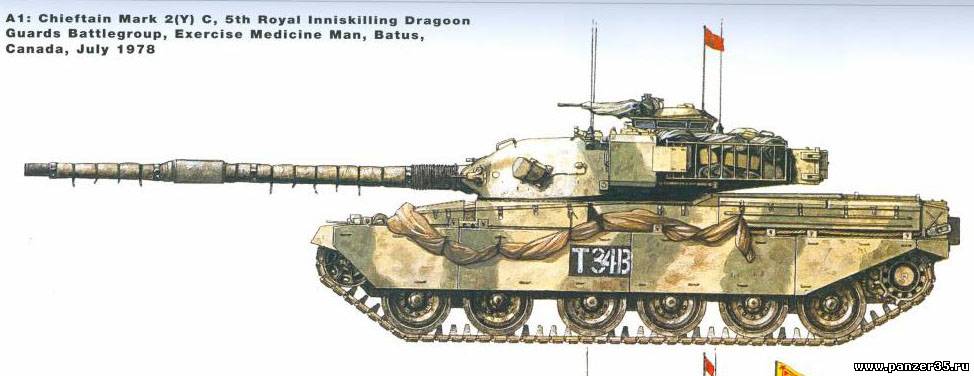
Тогда видимо придется делать более традиционным...Хотя бы вот:
Уж больно не хочется стандартную британскую окраску делать, темная очень.